Are you tired of cold showers and waiting endlessly for hot water? It’s high time to consider water heater service in florida upgrading to an electric water heater! You might be surprised to find out that installing one isn’t as complicated as it seems – just stick with us as we guide you through the process.
Electric water heaters are like your personal hot water factories – efficient, reliable, and always ready to deliver hot water on demand. In this step-by-step guide, we will walk you through the process of installing an electric water heater for bathroom, ensuring a hassle-free experience. Additionally, we’ll discuss why Essco is the best geyser brand and top choice for your home as well as commercial spaces’ water heating needs.
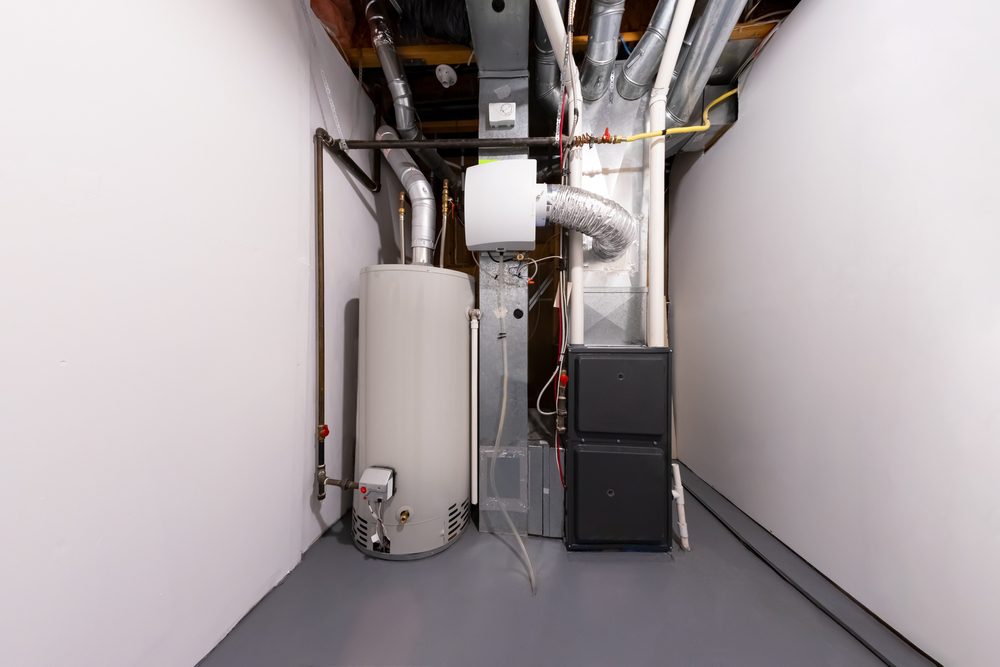
How to install an electric water heater
Gather the Necessary Tools and Materials
Choose the Right Location
Turn Off the Power and Water Supply
Remove the Old Water Heater
Check the Electrical Connection
Fill and Test the Water Heater
Set the Recommended Temperature
Maintenance Tips
Step 1: Gather the Necessary Tools and Materials
Before you begin the water heater installation process, gather the following tools and materials:
Electric water heater
Teflon tape
Flexible hose connectors
Pipe fittings
Pipe wrench
Screwdriver
Adjustable pliers
Wire stripper
Wire connectors
Circuit breaker
Step 2: Choose the Right Location
Select an appropriate location for your electric water heater. It should be near the electrical panel and have sufficient space for easy installation and maintenance. Ensure the area is well-ventilated and away from combustible materials.
Step 3: Turn Off the Power and Water Supply
Safety is paramount during any electrical installation. Turn off the power supply at the electrical panel to the existing water heater. Similarly, shut off the water supply to the old water heater to prevent any leakage during removal.
Step 4: Remove the Old Water Heater
Carefully disconnect the electrical wiring and water supply lines from the old water heater. Use the pipe wrench to loosen the fittings and remove the old unit from its location.
Step 5: Install the New Water Heater
Ensure the new electric water heater is properly positioned in the chosen location. Connect the water supply lines and tighten the fittings using a pipe wrench. Thoroughly check for any water leaks. Remember that the best water heater installation should be carried out by professionals only.
Step 6: Check the Electrical Connection
Consult the manufacturer’s instructions for the specific electrical requirements of your Essco water heater. Use the wire stripper to strip the wire ends and connect them to the corresponding terminals on the water heater. Secure the connections with wire connectors. Once done, turn on the power supply at the electrical panel.
Step 7: Fill and Test the Water Heater
Open a hot water faucet in your home to let the air escape from the water heater tank. Once water flows steadily from the faucet, the tank is full. Check for any water leaks and tighten connections if necessary.
Step 8: Set the Temperature
Adjust the temperature setting on your water heater according to your preference. It’s recommended to set the temperature at around 120°F (49°C) to ensure safety and energy efficiency.
Step 9: Maintenance Tips
To prolong the life of your water heater and maintain its efficiency, perform regular maintenance. Periodically drain the tank to remove sediment buildup, inspect the pressure relief valve, and check for any signs of wear or leaks.
